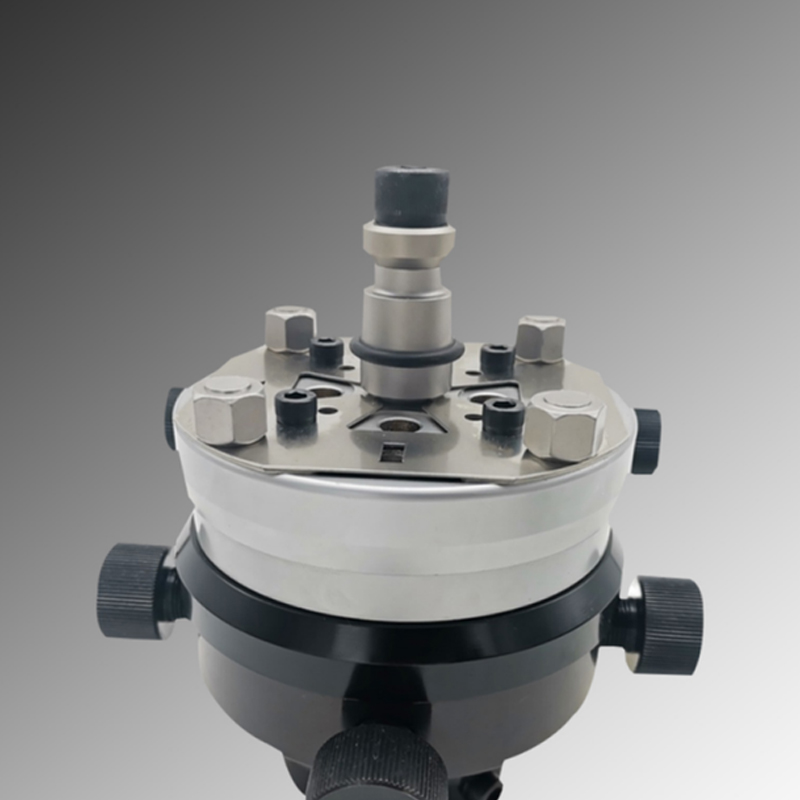
When processing parts in the mechanical processing industry, in order to ensure the accuracy of the parts and the speed of processing, some precision auxiliary fixtures are needed. Precision fixtures can scientifically use their accuracy combined with mechanical equipment to greatly reduce the human error caused by repeated correction of electrodes. The potential of precision positioning fixtures is fully realized. How to manufacture high-precision fixtures?
1. Group processing method
The group processing method refers to processing the same structural elements on multiple components at one time when processing fixture components. These structural elements are usually geometric dimensions or cross-sectional shapes and relative positions between each other. The group processing method can easily ensure the quality and interchangeability of fixture elements under the same processing conditions, and is mostly used for the manufacture of fixture elements with symmetrical structures or multiple repeated pieces. According to different manufacturing methods, group processing can be divided into two specific process methods: "pair processing" and "mirror processing".

Pair processing: means that all pairs of components in the fixture are processed in pairs using methods such as "grinding", "boring together", "drilling", and "twisting" to eliminate dimensional errors and positioning between workpieces deviation.
Mirror image processing: refers to some fixture components with a symmetrical structure. The symmetry plane can be used as the boundary. First, a workpiece with double length and an appropriate margin is processed, and then cut along the symmetry plane. After appropriate processing, the mirror image is used. The principle is to combine two symmetrical parts to eliminate symmetry errors.
Process features: No high-precision machine tools are needed, but only ordinary machine tools are needed to achieve high precision in the symmetry of the V-shaped block.
2. Clinical processing method
Clinical processing method refers to using the cutting function of a machine tool with clinical processing conditions to cut another component to eliminate position errors between each other and ensure that each component occupies the ideal position. It is mostly used in the processing of positioning components of fixtures and during machine tool assembly. It is used to ensure the final accuracy of the machine tool. When using this process method to design the fixture, the designer should be required to indicate on the general drawing of the fixture that "leave a finishing allowance according to the drawing size until the final processing on the machine tool."
Process features: It can eliminate errors in all aspects of the manufacturing, assembly, and installation of the fixture, and ultimately achieve extremely high precision.
3. Alignment and fixation method
The alignment and fixing method refers to the method of aligning first and then fixing. Usually, a dial indicator is used to align the upper busbar and measuring busbar of the mandrel, so that the mandrel is parallel to the directional key surface (side of the T slot) and the fixture installation reference surface respectively. The alignment process requires repeated adjustments and grinding. After alignment is completed, tighten the screws, drill and ream the fixing pin holes, and drive in the fixing pins.
Process characteristics: The accuracy of alignment depends on the technical level of the worker, the accuracy of the measuring tools, and the measurement benchmark.
4. Transitional benchmark method
Transition datum method: In fixture design, inclined holes and slopes with higher requirements are often encountered. Due to difficulties in measurement technology, their dimensions cannot be directly measured and controlled during processing. Therefore, the process datum hole must be set as a transition datum to meet these needs. The controlled dimensions are converted into process dimensions that can be directly measured or controlled, and then the transformed process dimensions are controlled to indirectly ensure the design size requirements of the workpiece. This process method is called the transition benchmark method


